
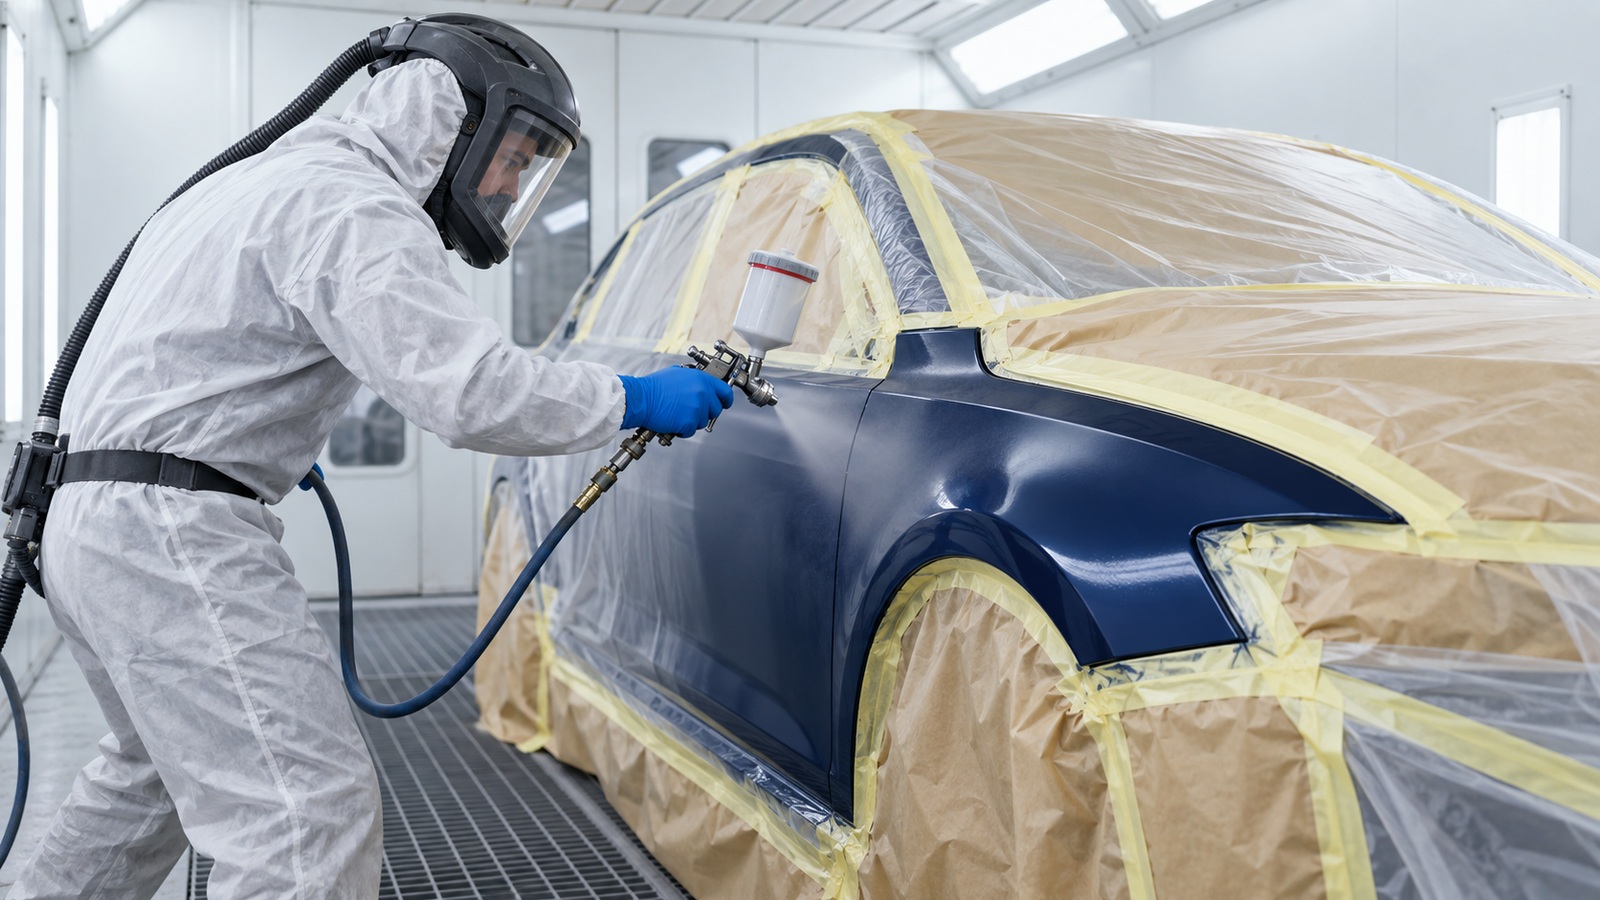
You have booked a panel in for paint, and the work happens out of your sight.
Car spray painting is four jobs, and only one of them is spraying. The damaged area is stripped back and the panel is cleaned. The surface is sanded, and the edges are feathered so no step is left where old paint meets new. Primer goes on, then it is sanded flat again. Only then does the car go into the booth for colour, clear coat and a bake. Most of the work is done before the gun comes out. That is why a paint job is judged by what sits underneath it.
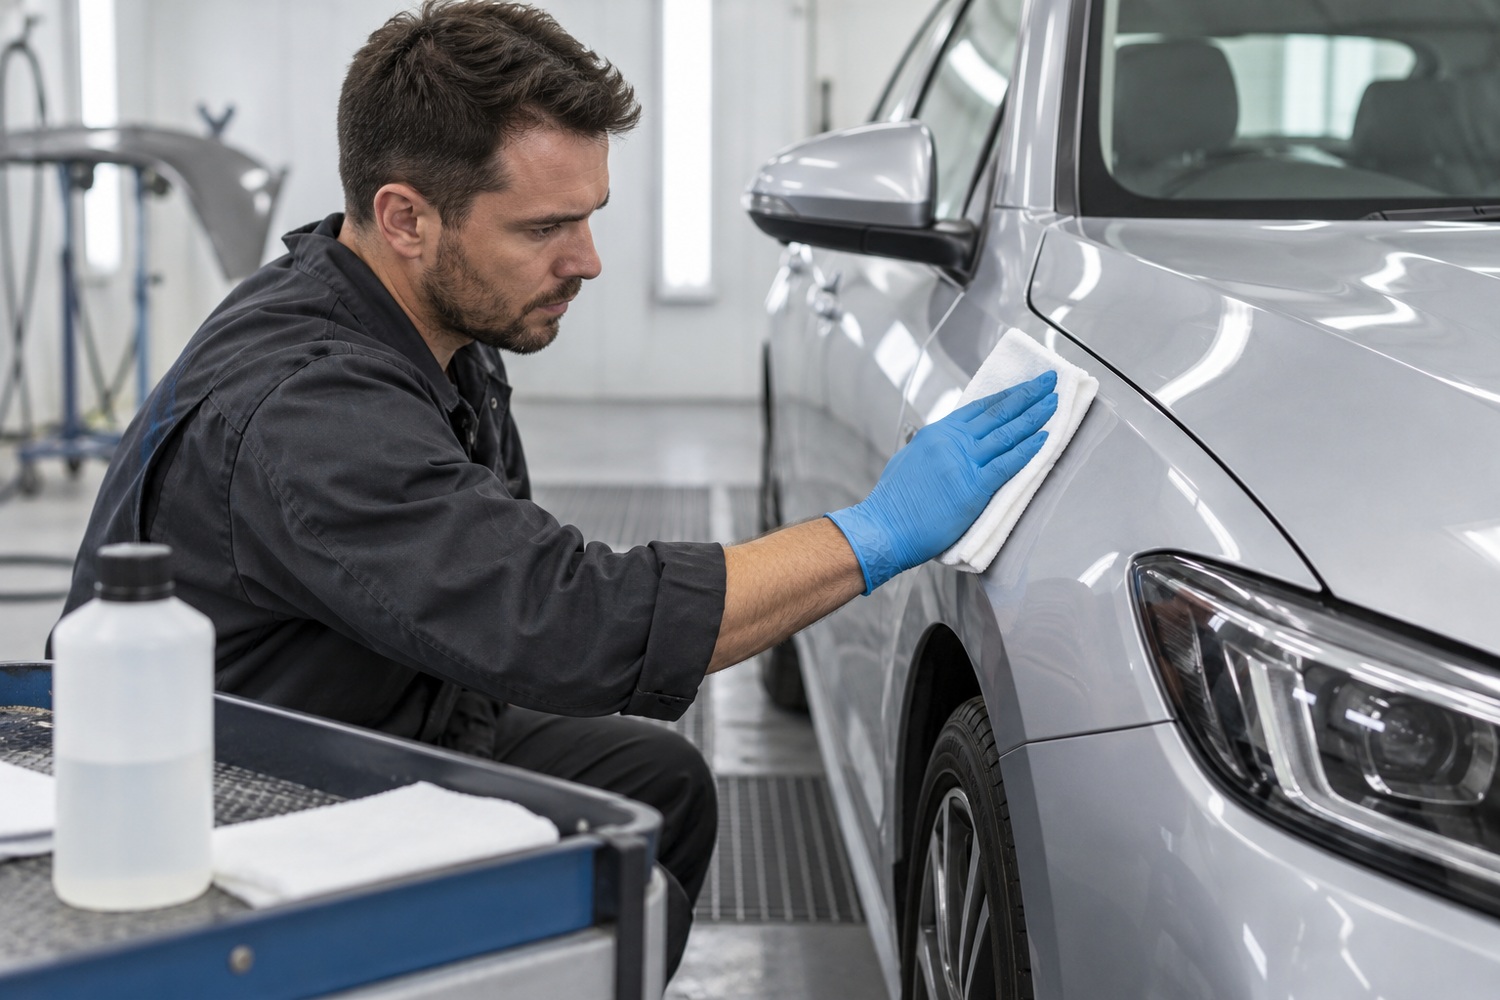
Car spray painting runs in a set order, and each stage sets up the next. Cleaning comes first, because anything left on the panel finishes up under the paint. Sanding comes next, and it shapes the edge of the old paint as well as the repair. Primer follows, and is sanded flat before colour. Masking is the last job before the booth, with parts taken off and the rest taped. In the booth, colour goes on, clear coat goes over it and the paint is baked. Last, the finish is checked and the panel is polished by hand.
Paint is one stage of a larger job. The metalwork comes first, so the panel is straight before the painter sees it.
Where a car is in for crash damage, paint sits in the middle of a longer sequence. The stages either side of it are in the full smash repair walkthrough.
| Stage | What it decides | What shows up later |
|---|---|---|
| Cleaning | What is trapped under the paint | Specks in the finish |
| Sanding and feathering | Whether the repair leaves an edge | A faint ring around the repair |
| Primer, sanded flat | How flat the colour reads | Sanding marks under the gloss |
| Colour, clear coat and bake | Gloss, and how hard the surface is | A dull finish that marks easily |
This article picks up after the decision to spray. Whether a mark needs polishing, touching up or spraying is a separate call.
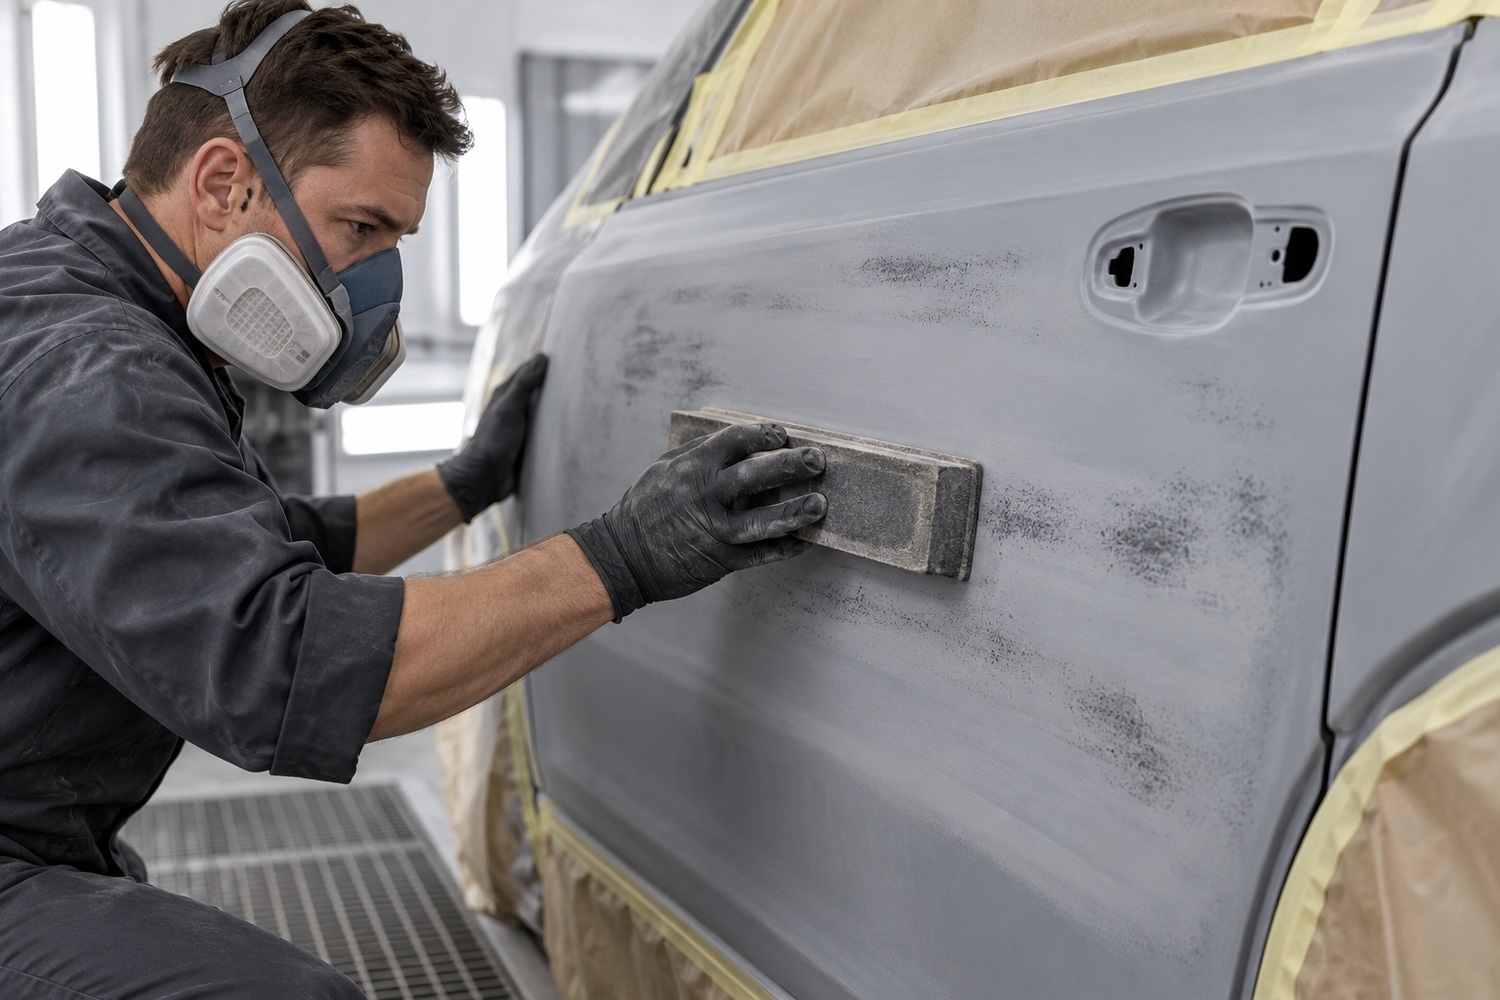
Preparation is everything that happens before colour. It takes most of the hours, and it decides what the finish looks like.
Sanding is done in grades, each one finer than the last. A coarse grade cuts fast but leaves scratches of its own, and the next grade removes those. Skip a step and the coarse scratches stay in the surface. They are invisible in bare primer and obvious under gloss.
Feather-edging means sanding the edge of the old paint into a long, shallow taper. Paint sits on a car in layers, so a chipped edge stands up like a tiny cliff. Taper it and primer can cover the join with nothing left to catch the light. A rushed feather edge is a known cause of a ring showing around a repair.
A guide coat is a fine mist of contrasting colour, or dark powder, dusted over the primer and then sanded off. Where the panel is flat, it sands away. Where there is a low spot, it stays, because the sanding block bridges the dip.
A guide coat fixes nothing. It shows the painter where a panel is not flat, which the eye cannot judge on a primed surface.
A repair is prepared well past the damage, so the work spreads wider than the damage itself. Whether a single panel respray makes sense, and what one costs, is answered separately.
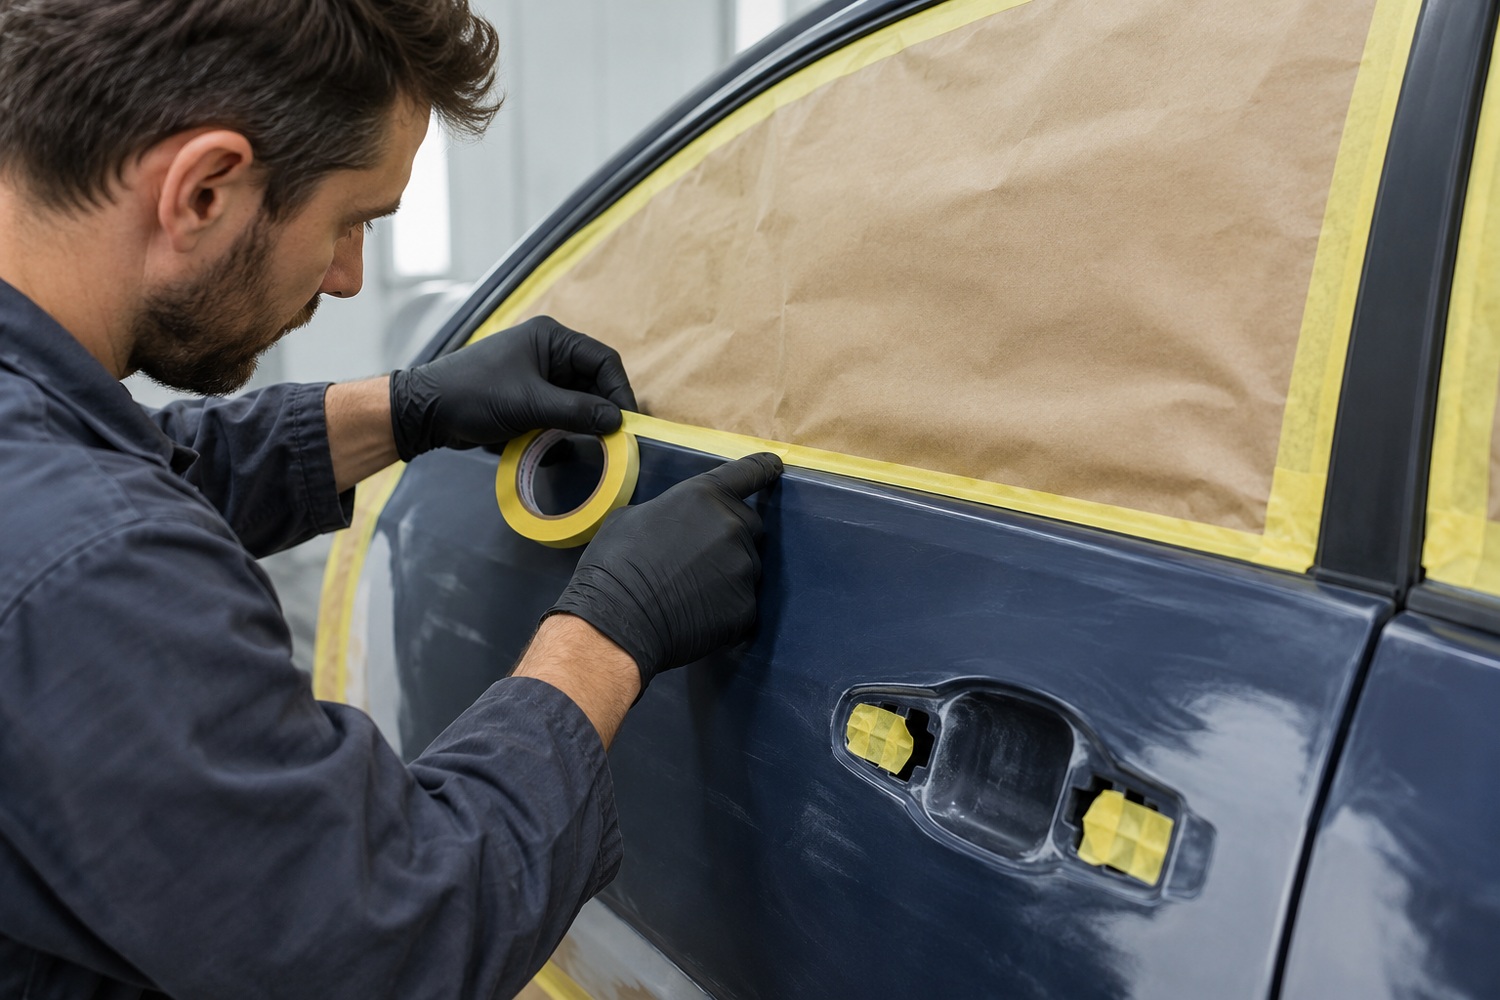
Masking means covering everything that is not being painted. Handles, badges, lights, trim and rubbers come off instead, where that is neater than taping around them. Tape leaves a line, and a removed part does not. The trade test is simple: if removing a part takes as long as taping it, remove it.
What stays on is cleaned first and taped second. Cars that live on the street in Richmond arrive with brake dust, tree sap and road film worked into the surface. None of that can be under the tape when the car goes into the booth. Seals and weather strips get cleaned before anything is stuck to them, or the tape lifts.
Overspray on a seal, a window edge, a light lens or inside a door shut is the tell of a rushed job. Open a door and run your eye down the shut line. Masking is slow work.
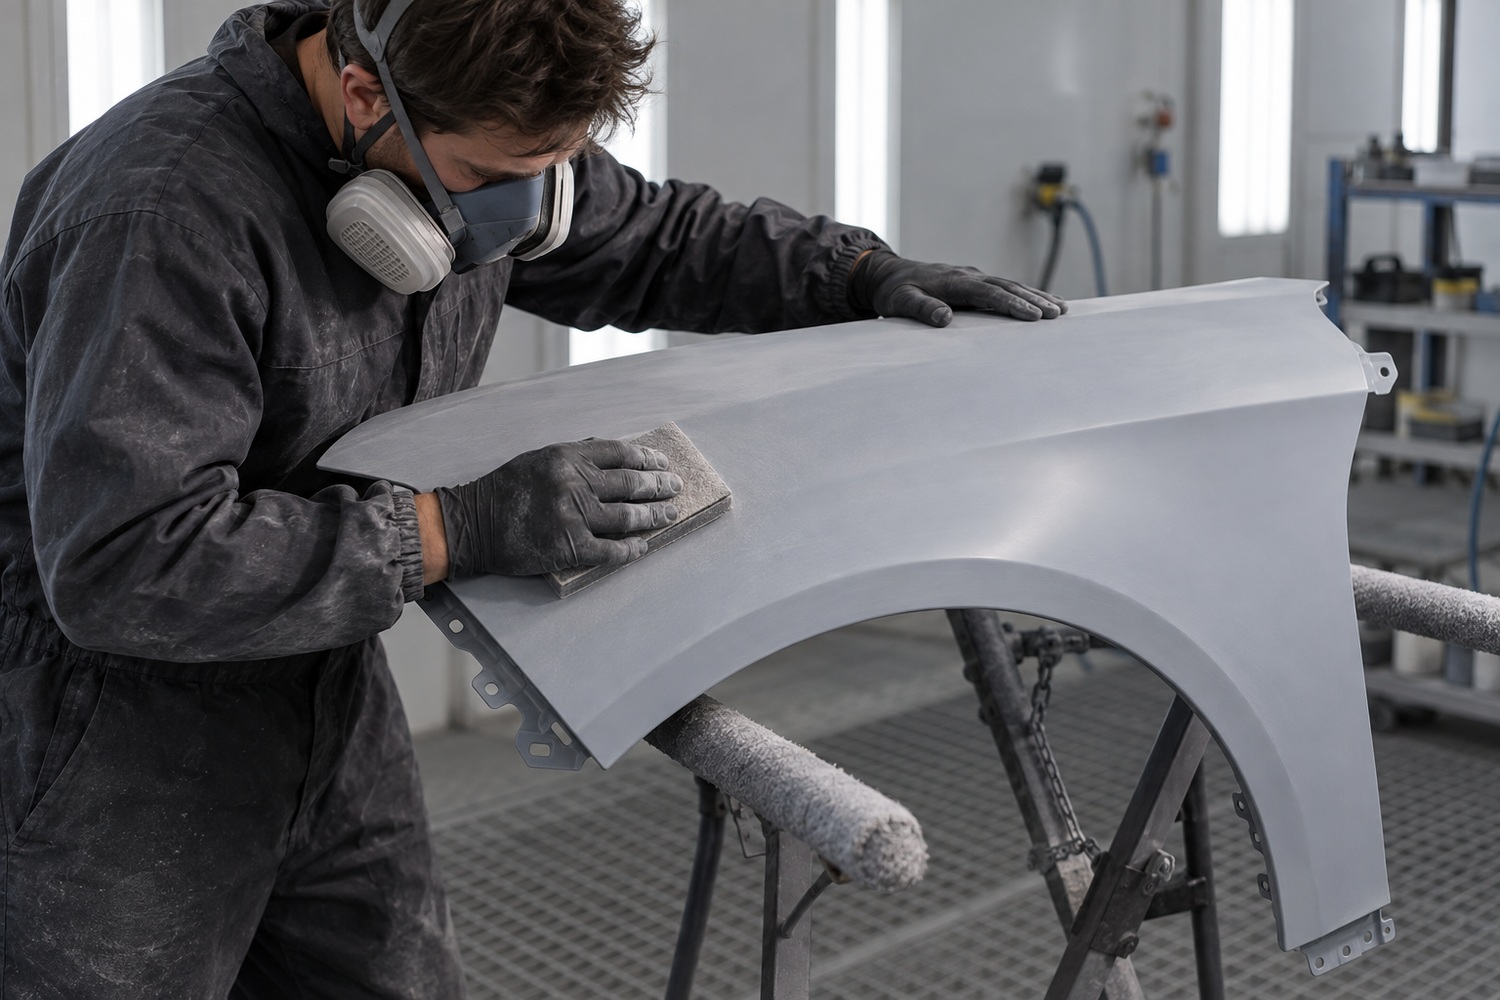
Primer is the coat between the repair and the colour, and it does three jobs. It fills the last of the sanding marks. It gives the colour one even surface to sit on instead of a patchwork. And it seals bare metal, so the metal does not start corroding under the new paint.
Then it is sanded flat again. That looks like undoing work, and it is not. Primer goes on deliberately high, with more material than the panel needs, so there is something to cut back. Sanding takes it down to dead flat, and only flat primer gives flat colour. A panel that leaves primer with a wave in it leaves the booth with the same wave, lit by gloss.
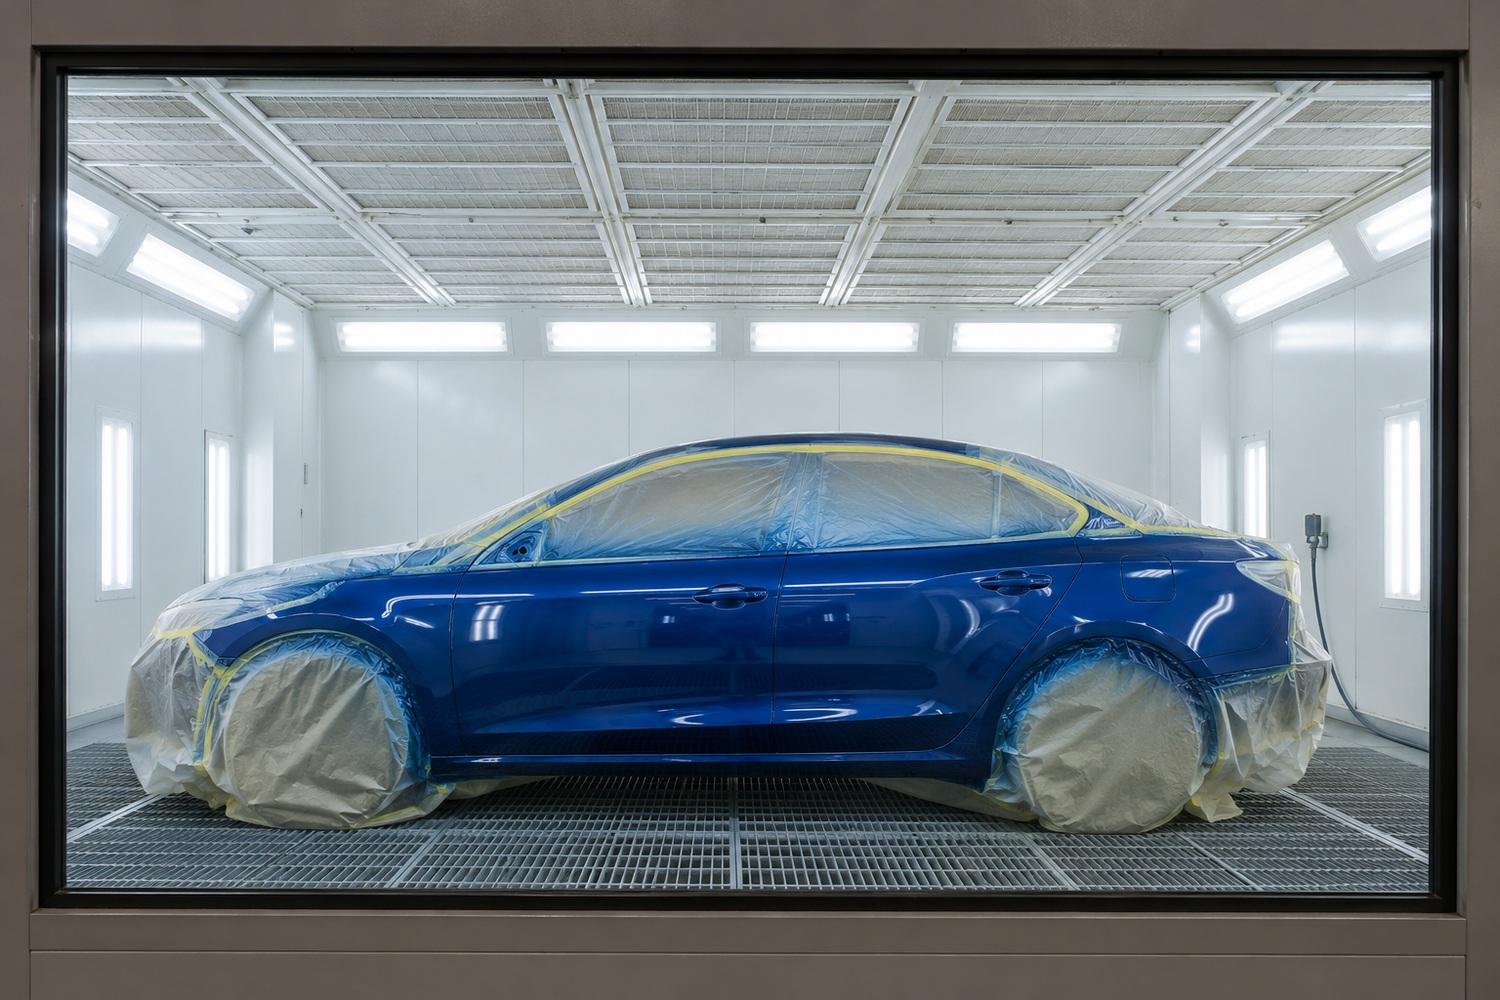
A spray booth is a sealed room with its own filtered air. Air comes in through filters and leaves through filters, carrying dust and overspray out. A booth is normally held at slightly higher pressure than the workshop. Air then pushes out through any gap, rather than pulling shop dust in.
The colour already on the car is matched before anything is sprayed. Working that match out is a job of its own, and there is a longer answer on the science of colour matching.
Colour goes on first, in light coats, and clear coat goes over it. The clear is most of what you see and touch: the gloss, the depth and the protection from sun and weather. It is mixed with a hardener, and the two react to form a hard film rather than simply drying. Heat drives that reaction, and that is what the bake is for.
Where a repair runs into the middle of a panel, the colour is faded out into the next panel so the eye cannot find the join. That is blending, and why a respray gets blended is worth reading on its own.
You can ask a workshop what it sprays with. The paint here is Glasurit, baked in Lowbake ovens. The brand matters less than whether a shop can spray and bake under filtered air.
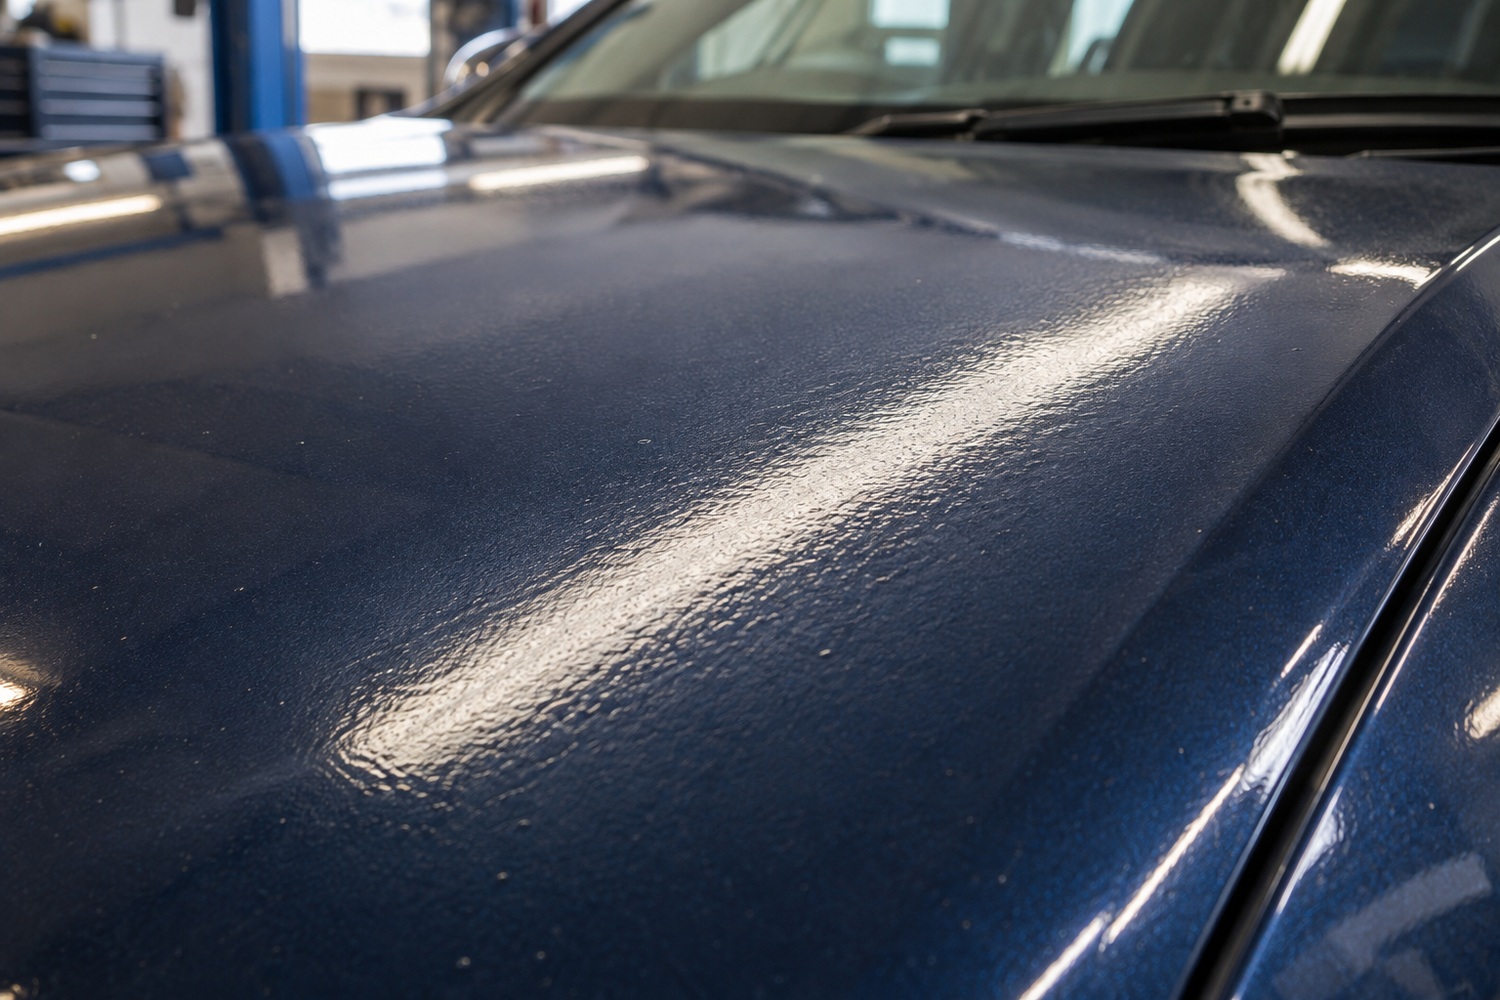
A respray can look fine in a shaded car park and show every fault in sunlight. Stand so the light runs along the panel rather than straight at it.
None of this needs a trained eye. It needs good light and a minute.
The spray painting page at Automotive Panel Service sets out what the work covers, from the first clean through to the bake. If you want a panel looked at, the quote form is the place to start. The car itself tells a painter more than a description of it does.